Proxmox from the standpoint of someone how started. It’s a way to have multiple machines in one box.
– Why do you want to do this?
The main advantage I think is because when you learn you want to do a lot of tests and try many different setups…
And for sure you will break your setup so many time’s that you may want to cry a little.
Proxmox lets you set up a basic image, clone it, and do your test on the cloned one. So you won’t break what is already working. If it breaks, well good, try again!
The next thing it permits you are to try communication across networks of multiple machines. This from the comfort of your own place.
For a price tag of 0$ it’s kind of affordable.
Yes, it’s free, proxmox is free, your virtual network is free and the multiple machines you gonna run are also free…
We’ll take a look at how to Proxmox install bare-metal.
First of all
The most important, grab a cup of coffee.
Next… Grab papers and pencil, you’ll need to take some notes during installation… user, password, ip etc, etc…
Write them down, i told you, you have a good memory, but in a year, if you have to log in again to make some change you will not be able to remember…. I know it happened to me… And Because Proxmox is so good, it will run forever… remember forever is really long…
Ok, what do we need
Minimum Hardware (for testing purpose)
CPU: 64bit (Intel EMT64 or AMD64)
Intel VT/AMD-V capable CPU/Mainboard (for KVM Full Virtualization support)
Minimum 1 GB RAM
Hard drive
One NIC
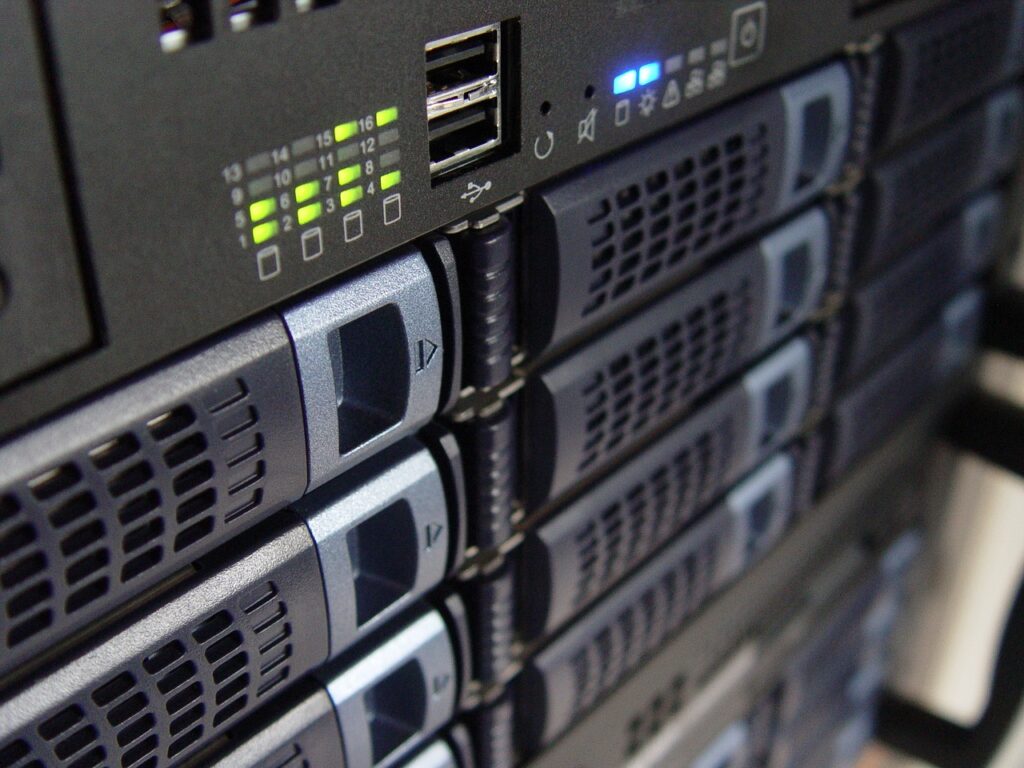
For information i run proxmox on an old Dell Optiplex computer to learn to use it.
The spec are as follow:
CPU: Intel Core2 Quad CPU Q6600 2.4GHz (4core)
Memory: 8 GB RAM
Hard drive: SATA 250 GB
NIC: The onboard one
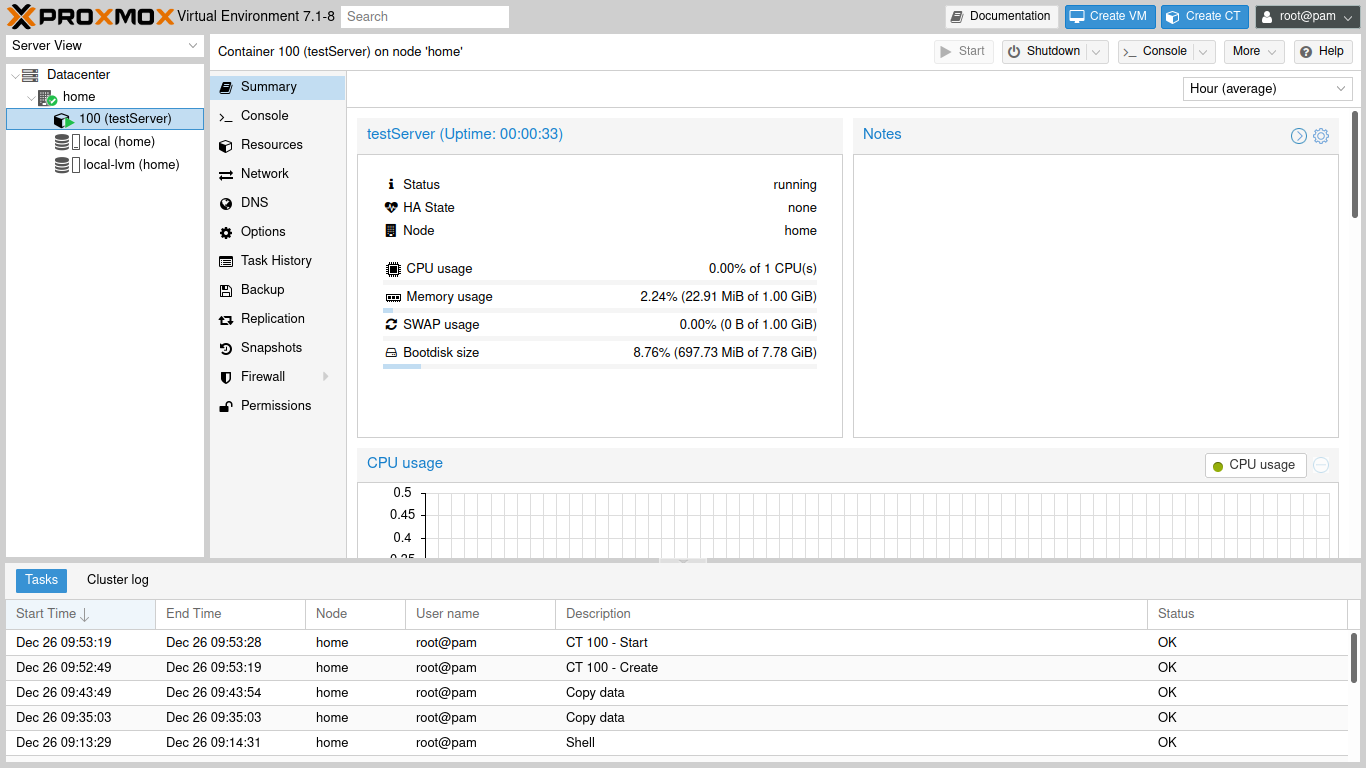
The CPU load is under 3% and it use around 1GiB of memory. (with 1 container running idle)
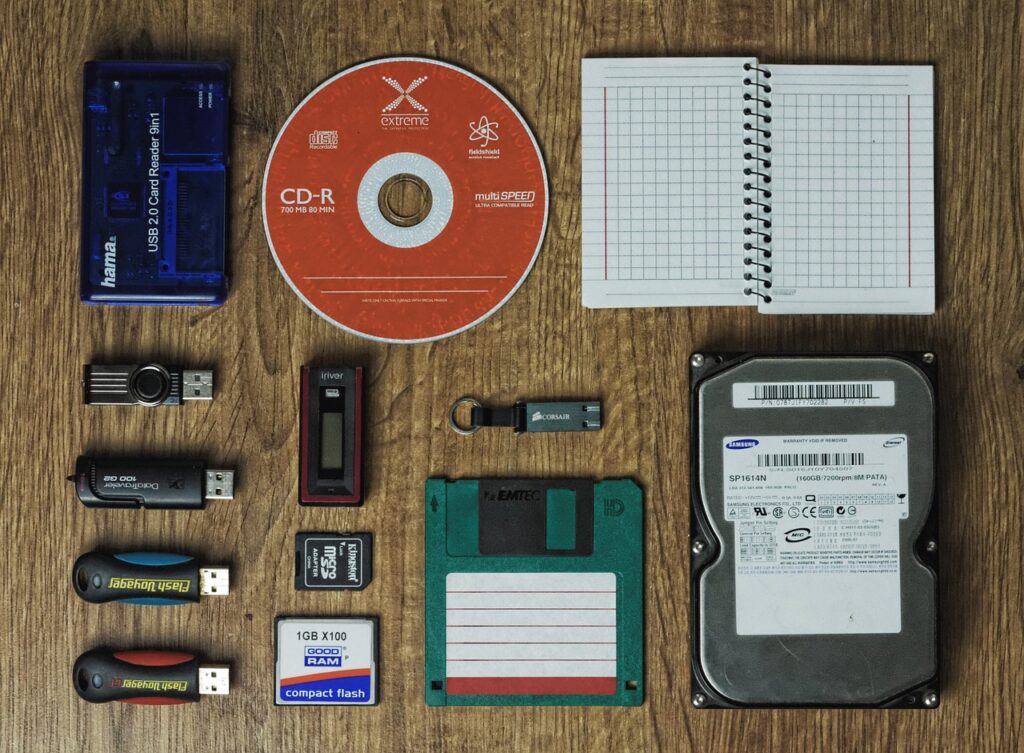
Now you will need to put the image of the *iso to the install media of your choice. I will not tell you how, i suppose that if your try virtualization stuff you could probably manage that yourself, if not google it!!
I personally use a cheap USB stick.
On the computer you want to use for the proxmox installation, insert your new install media, USB stick or cdrom or sdcard, etc.
*** you could wipe everything off of this test machine, if not certain read instruction twice***
Start your computer and boot from the install media.
Select the first option and follow the instruction.
*** take note about what you input as password, etc***
When done it will install everything for you and ask you to remove the install media before rebooting.
Ok we're done installing, everything's went fine.
Now reboot your proxmox box.
From another computer on your network enter the https://hostname.lan:8006 or https://(address IP of your box):8006 in the address bar of your browser. Your browser may complain about a security risk, accept the risk and proceed
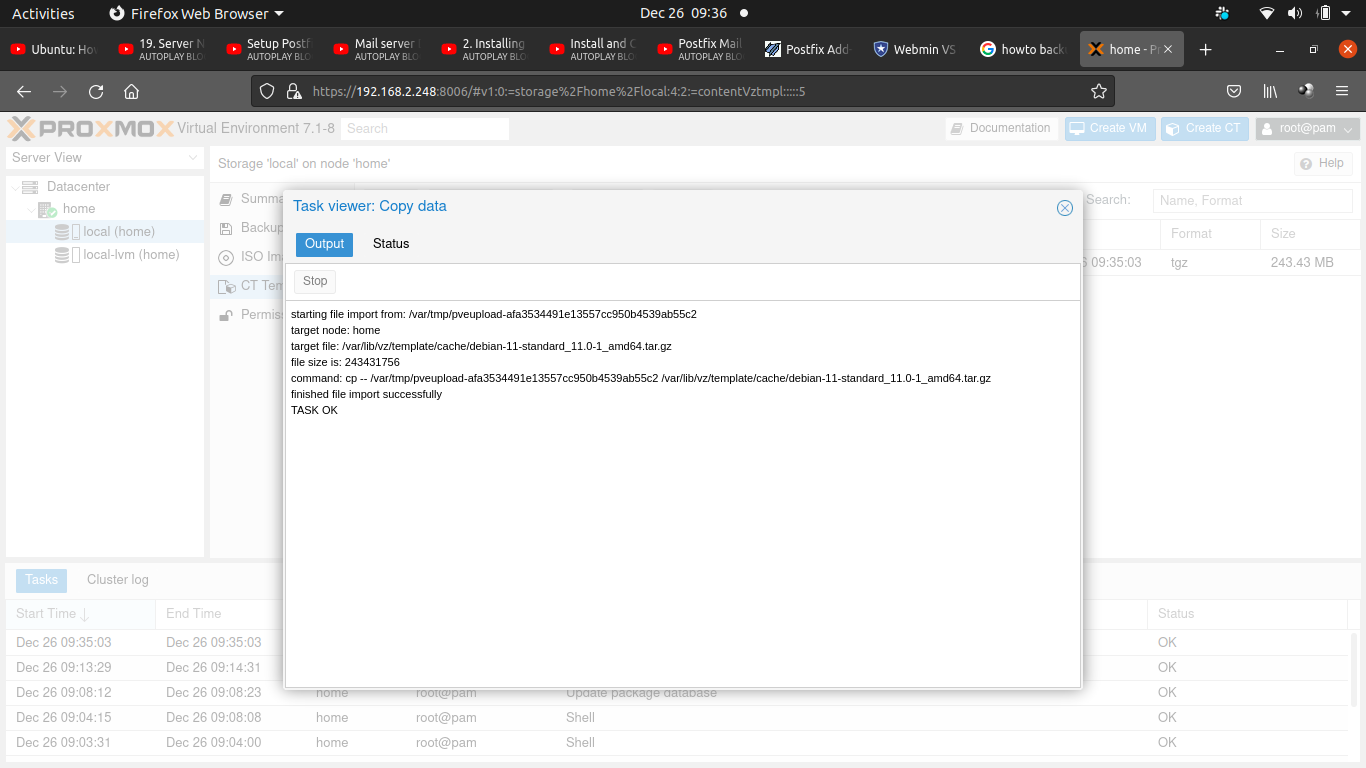
***** always wait for TASK OK before closing status windows that open on different action******
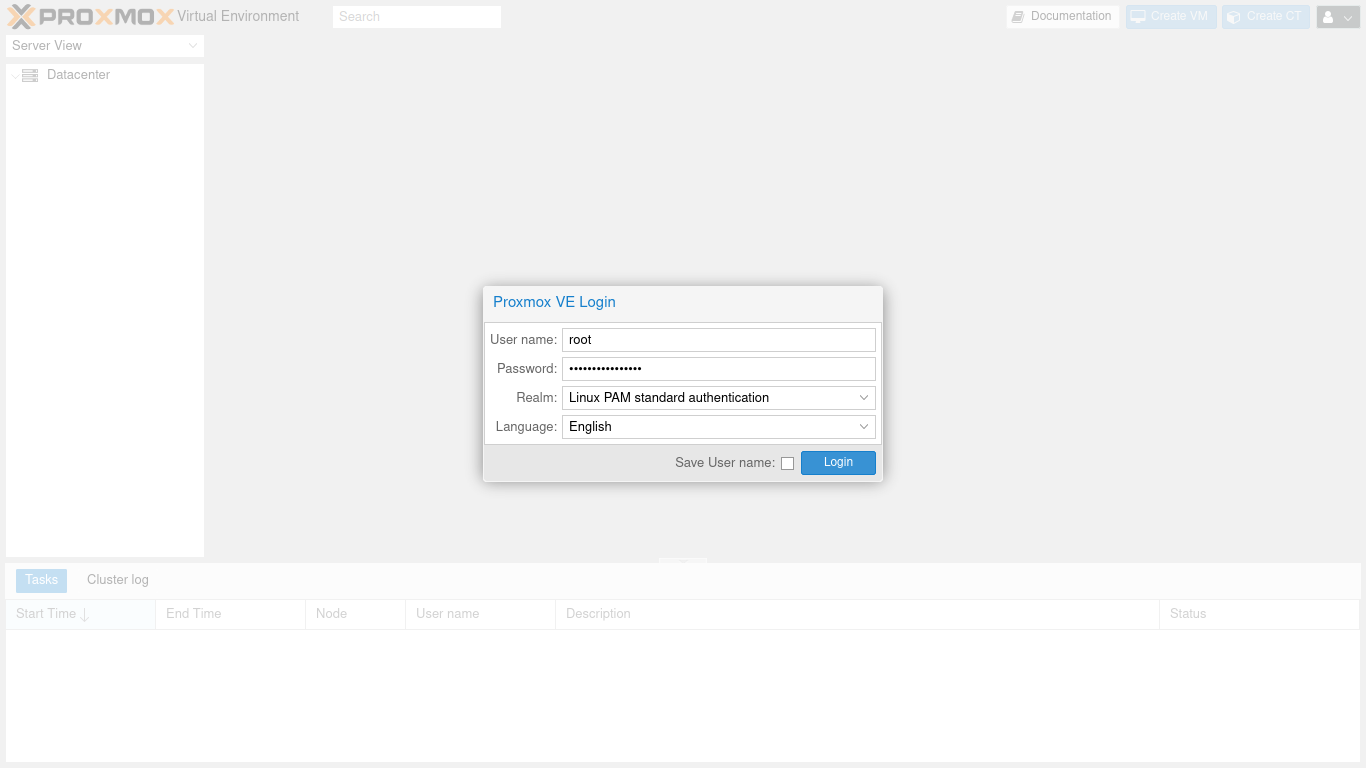
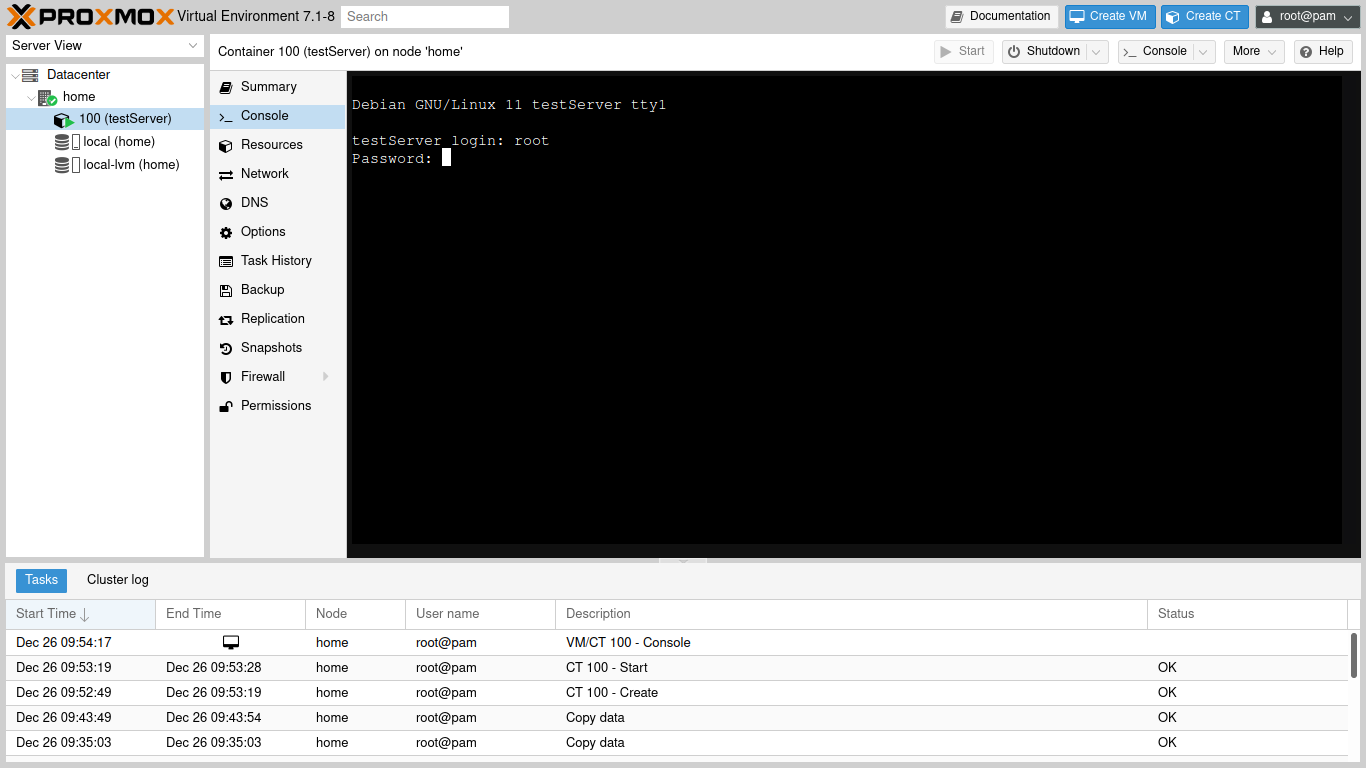
This is the first thing you will see.
It’s the login where you should use:
User name: root
Password: (the one you put during installation)
Real: Linux PAM standard authentication
Language: the one you prefer
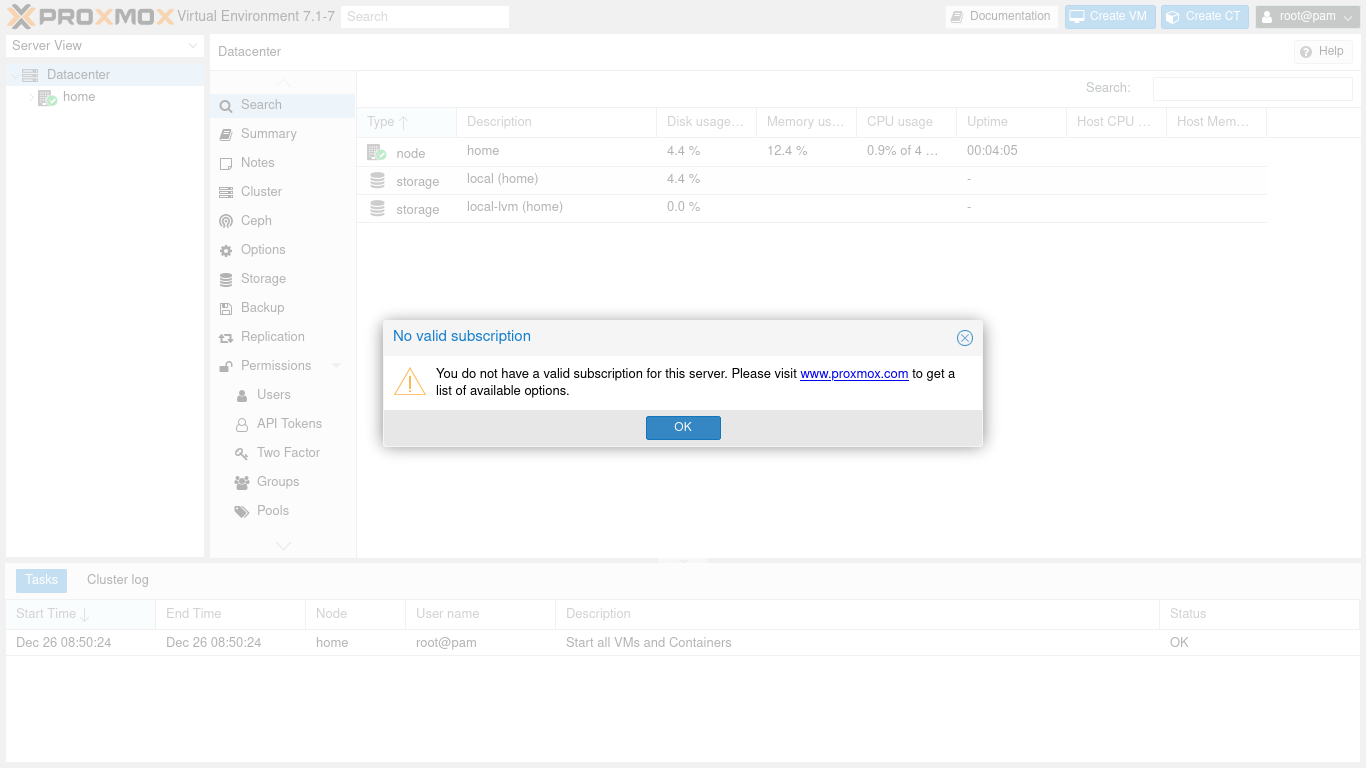
This is proxmox telling that you don’t have a subscription!
We will change this shortly!
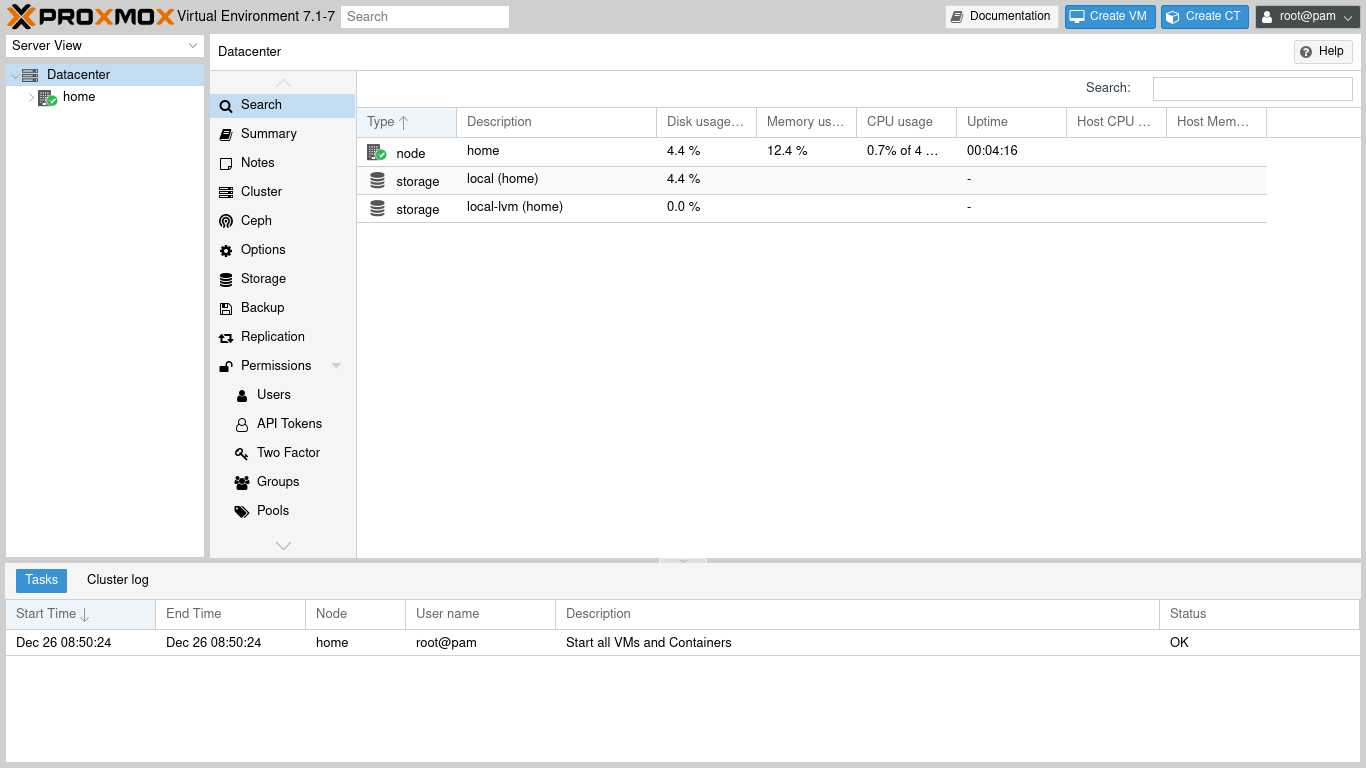
This is the basic empty workspace of proxmox.
From here you could take a moment to check the available menu, etc…
I’ll give you more information if you stay with me!
now you’ll see your server management windows
on the left side of the screen select your active system (just under data-center) the one with the green mark.
in the menu just on the right select Updates and after Repositories.
in the right pane you will see the repo list of you system.
Time for some command line
click on button shell on the top of that pane to open a root shell screen
in this shell type(don’t need sudo your already root) nano /etc/apt/sources.list.d/pve-enterprise.list comment the line and add the next line:
# PVE pve-no-subscription repository provided by proxmox.com, # NOT recommended for production use deb http://download.proxmox.com/debian/pve bullseye pve-no-subscription
save and close
your server will still complain about no subscription but it’s fine
Need to add picture or somethings...
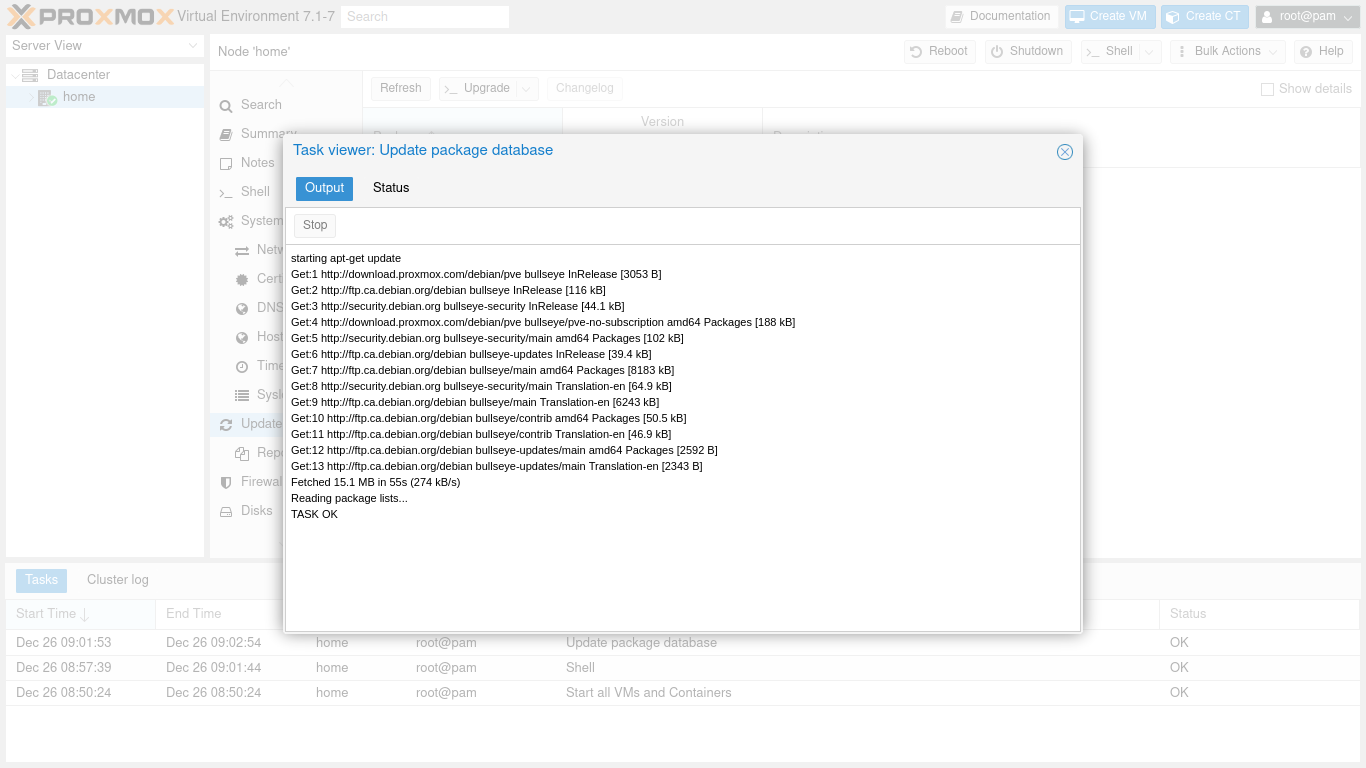
go back to your main screen (proxmox management window) and in the source pane click reload button, this will reload list and check for update select update and in the right pane click refresh button (a screen showing the process will open, when done close it) click upgrade button this will open a terminal windows (when ask press y to proceed)
**you see TASK OK at the bottom, always wait for it , it show up when done!**
***if you want to mount a USB drive to make some copy or transfer in the case it’s not auto-mounted*** connect your USB storage device if it’s not auto-mounted you could do it manually in terminal type: mount -t vfat(or your type) /dev/sdd1(your device) /mnt/ once done you could do your thing from the web interface when done doing your thing umount /dev/sdd1
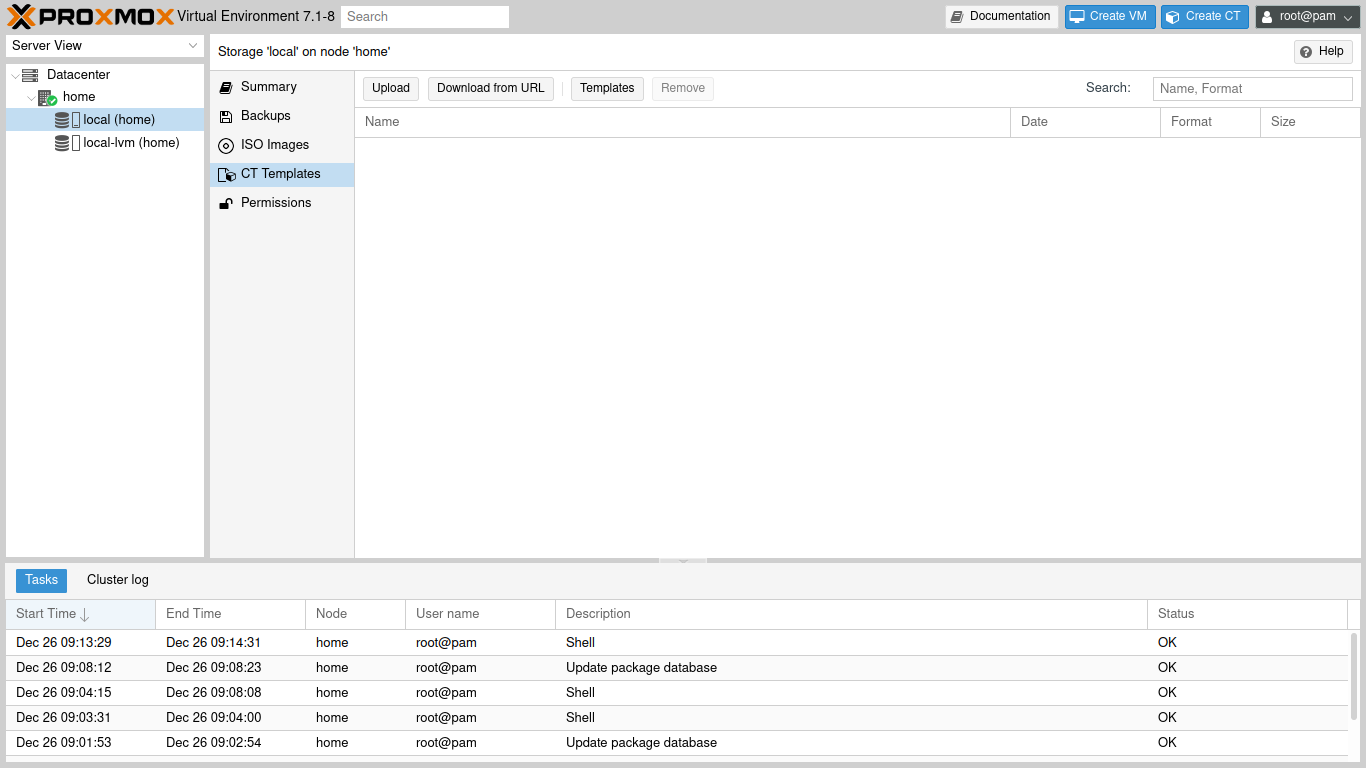
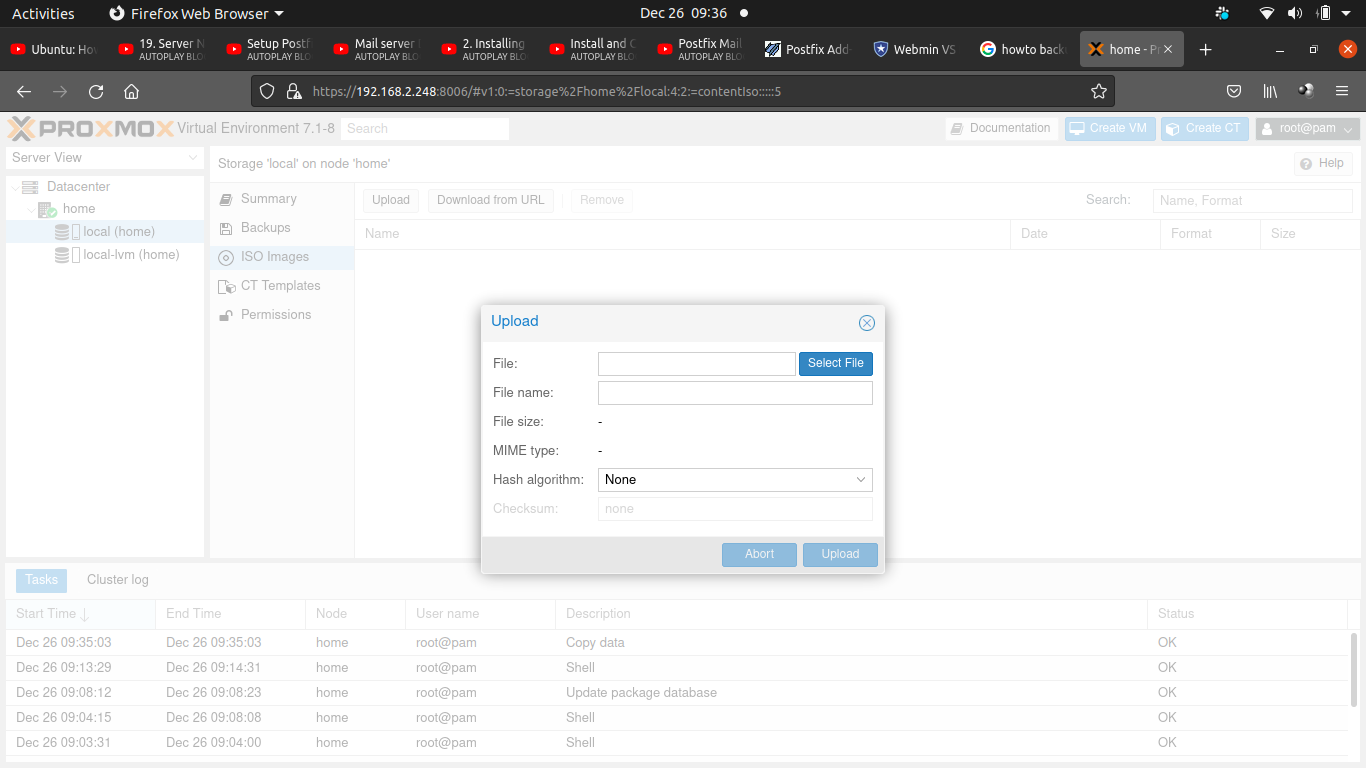
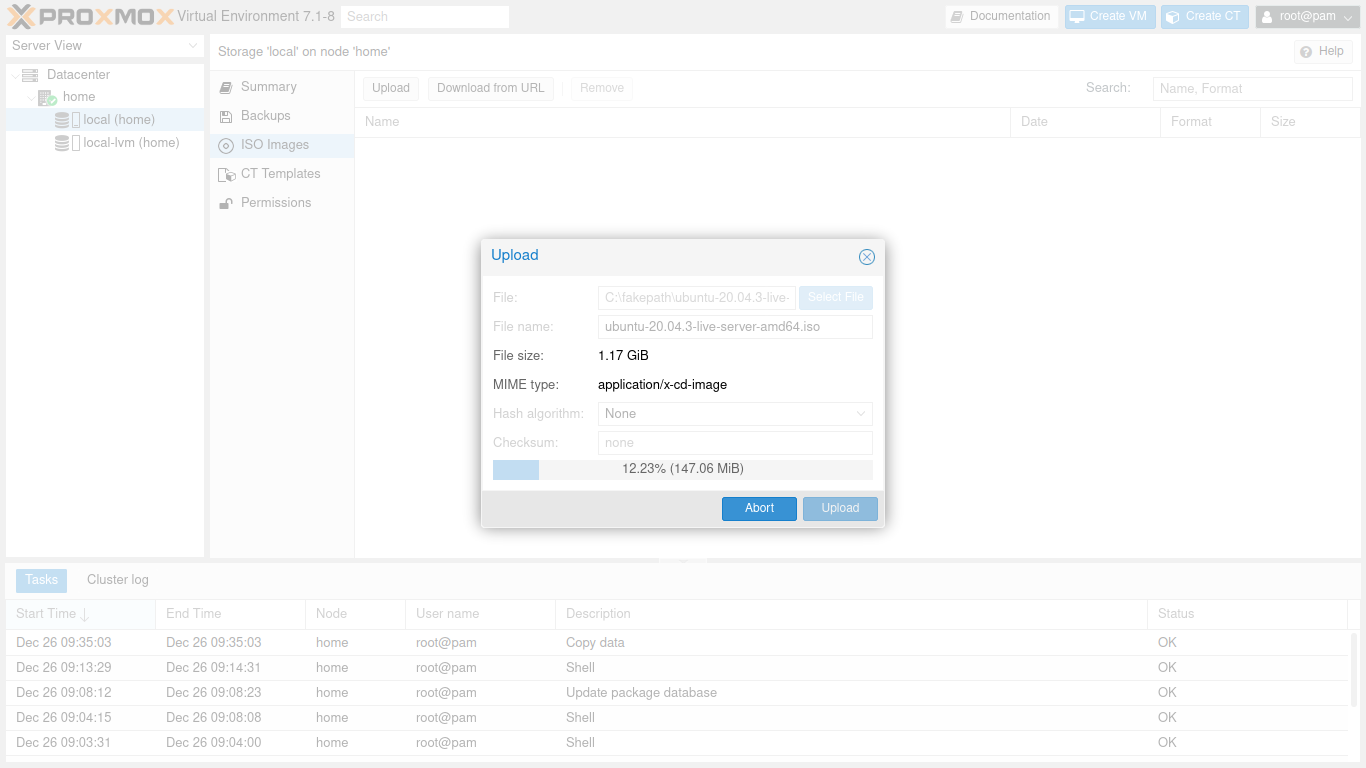
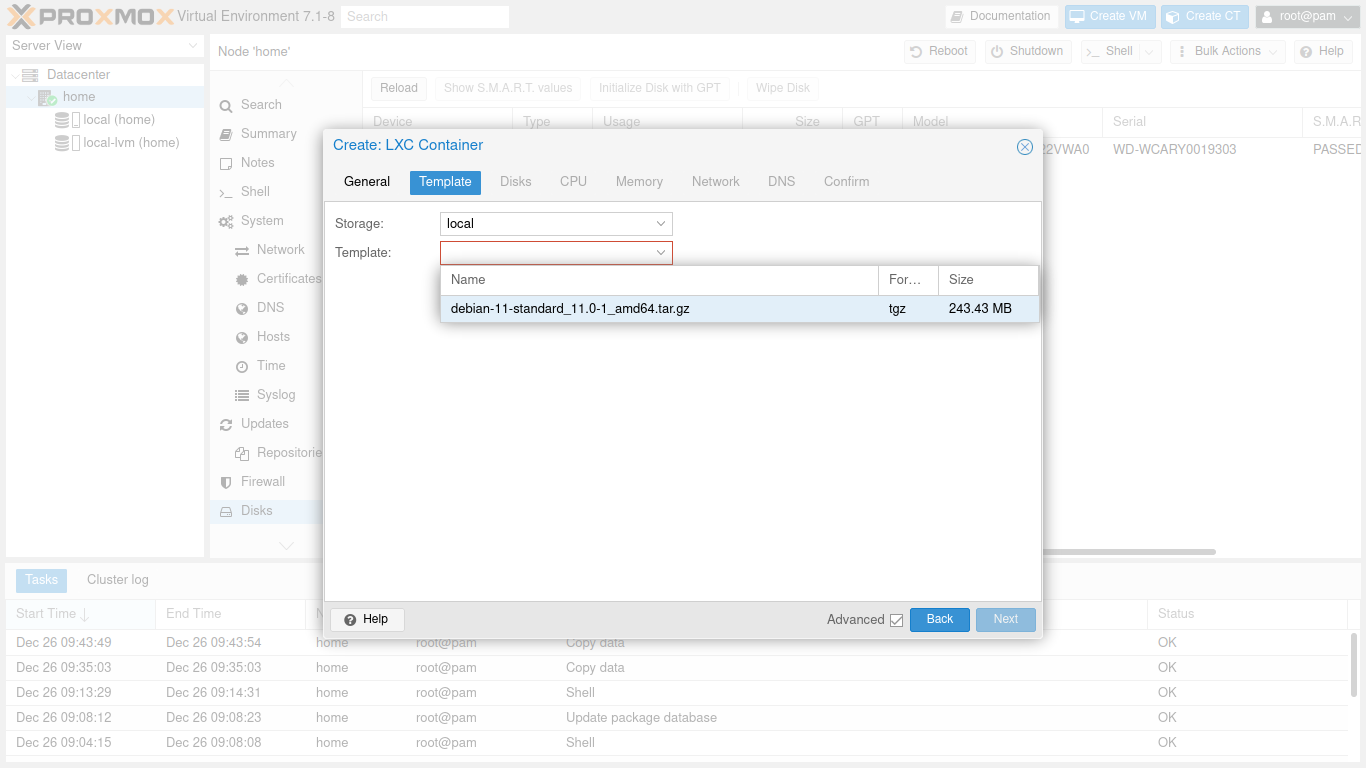
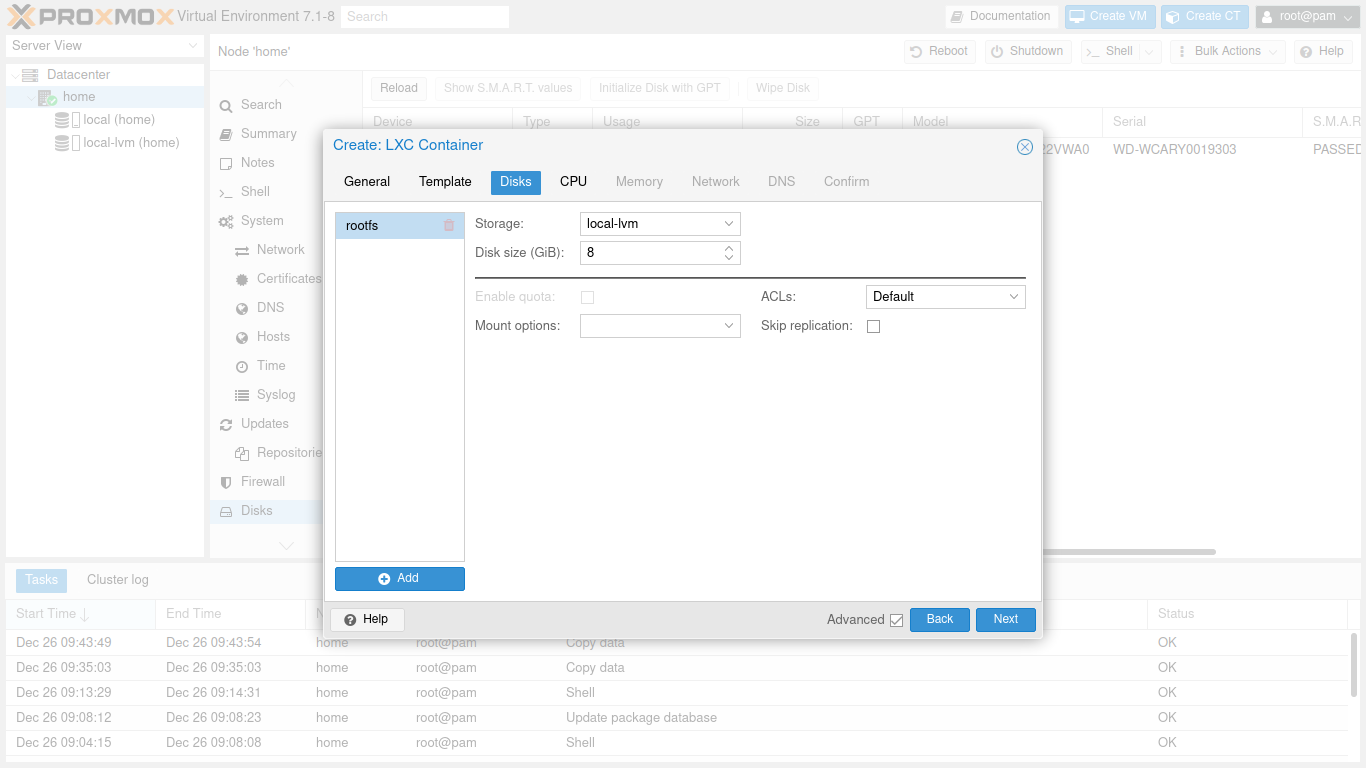
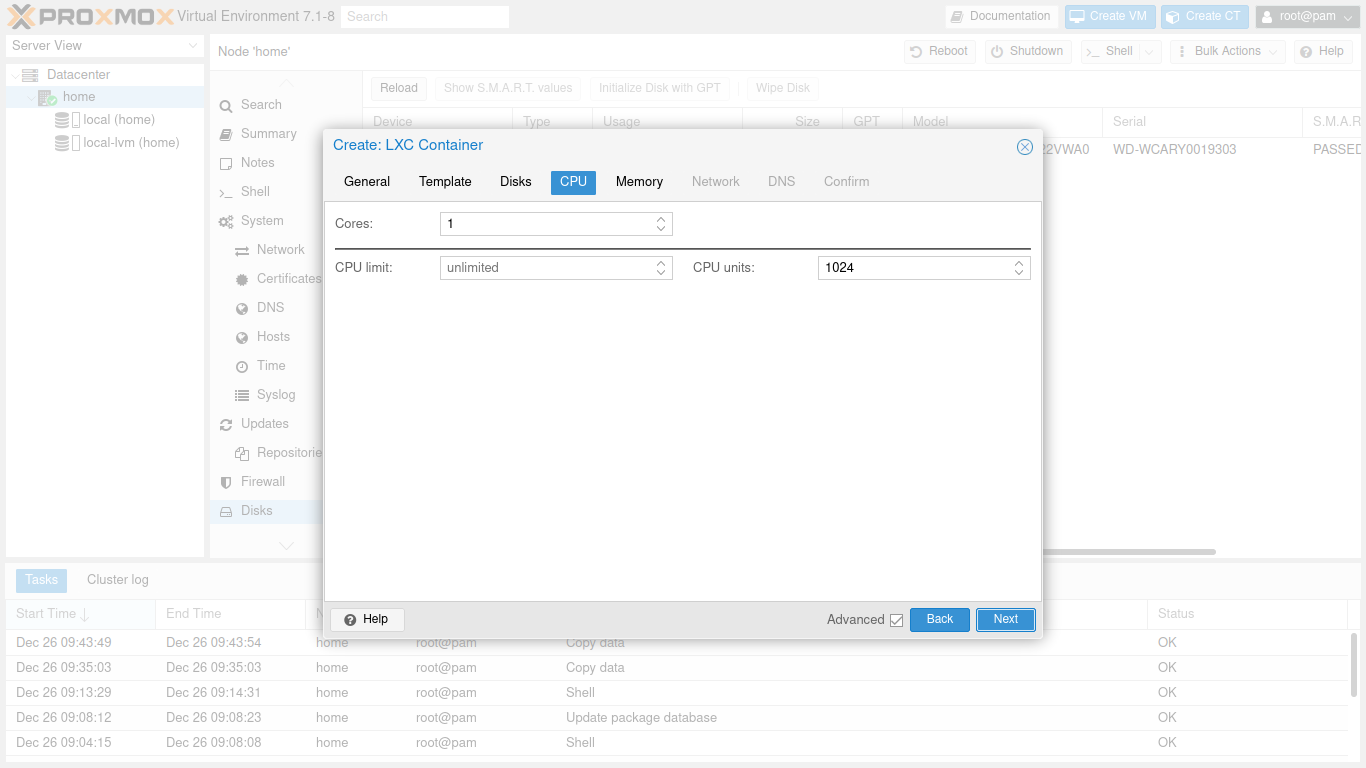
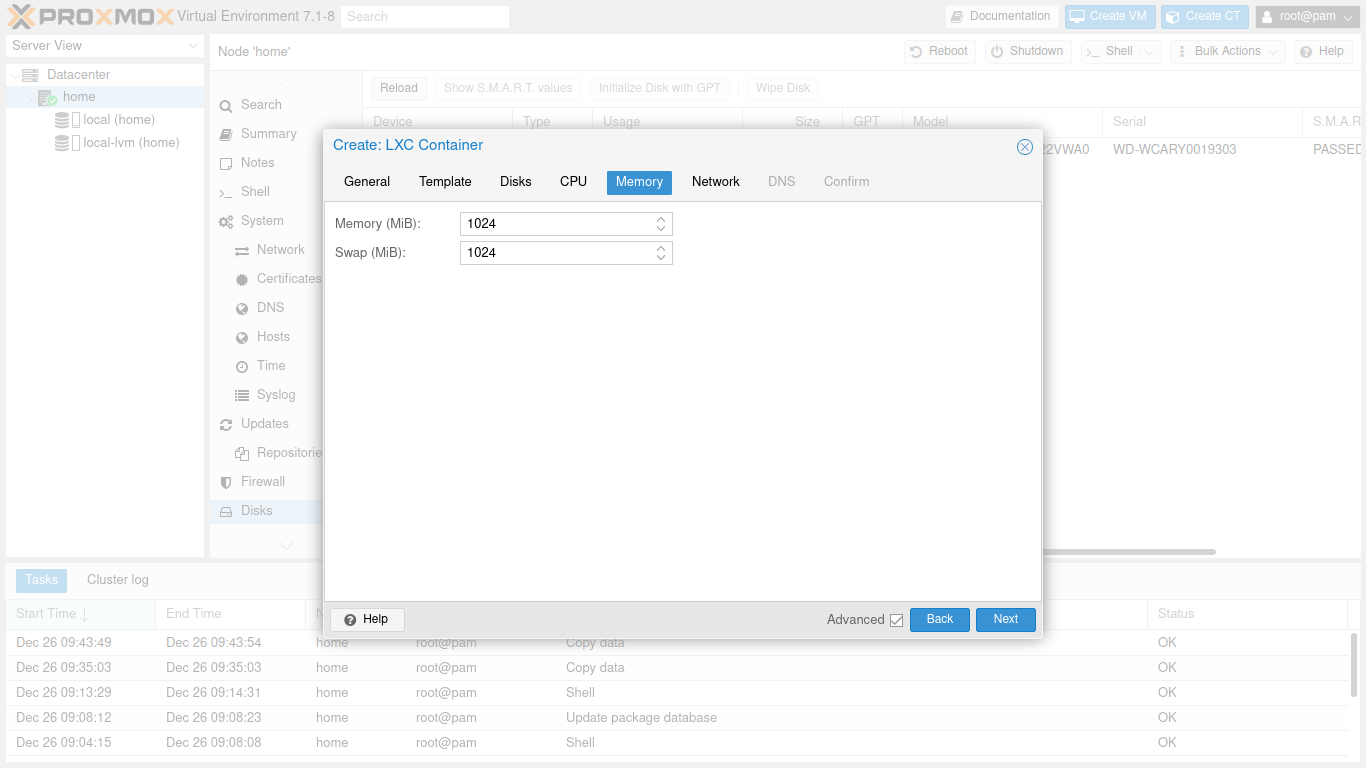
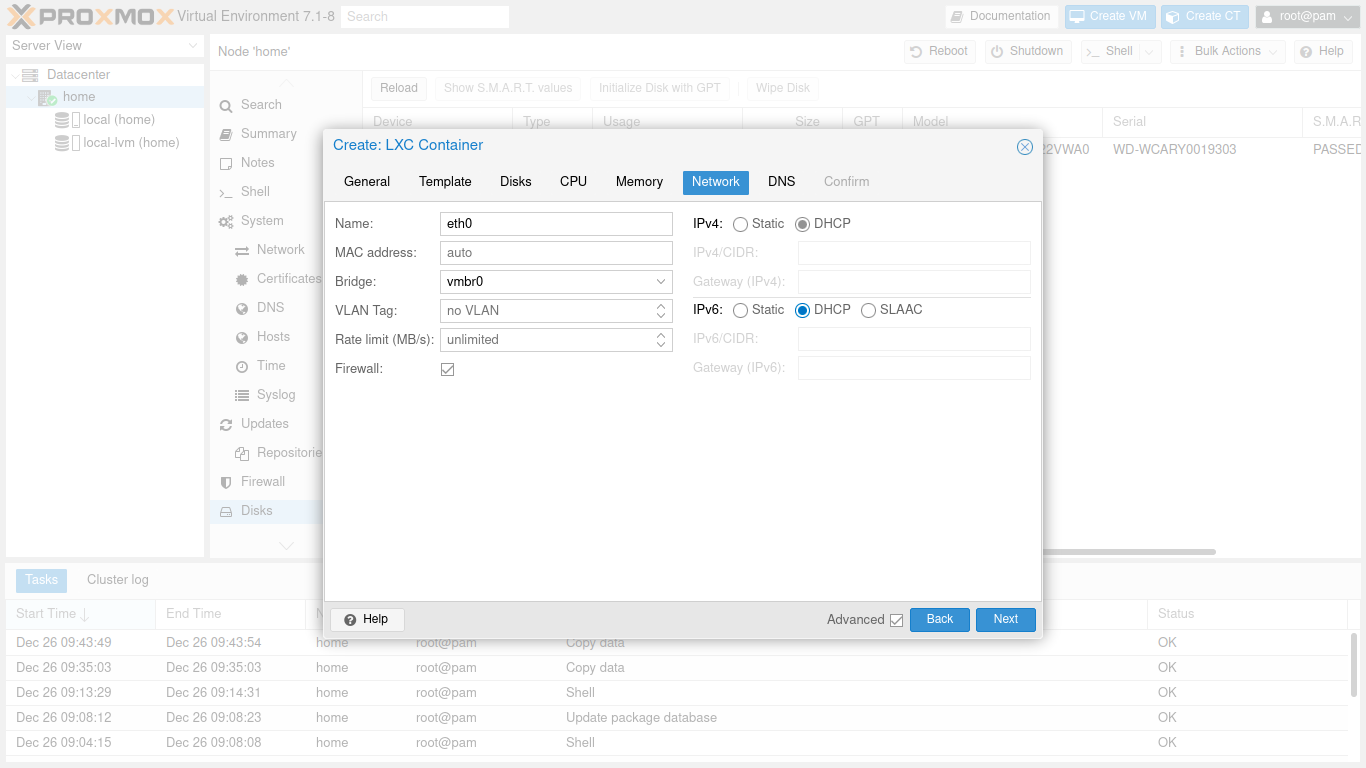
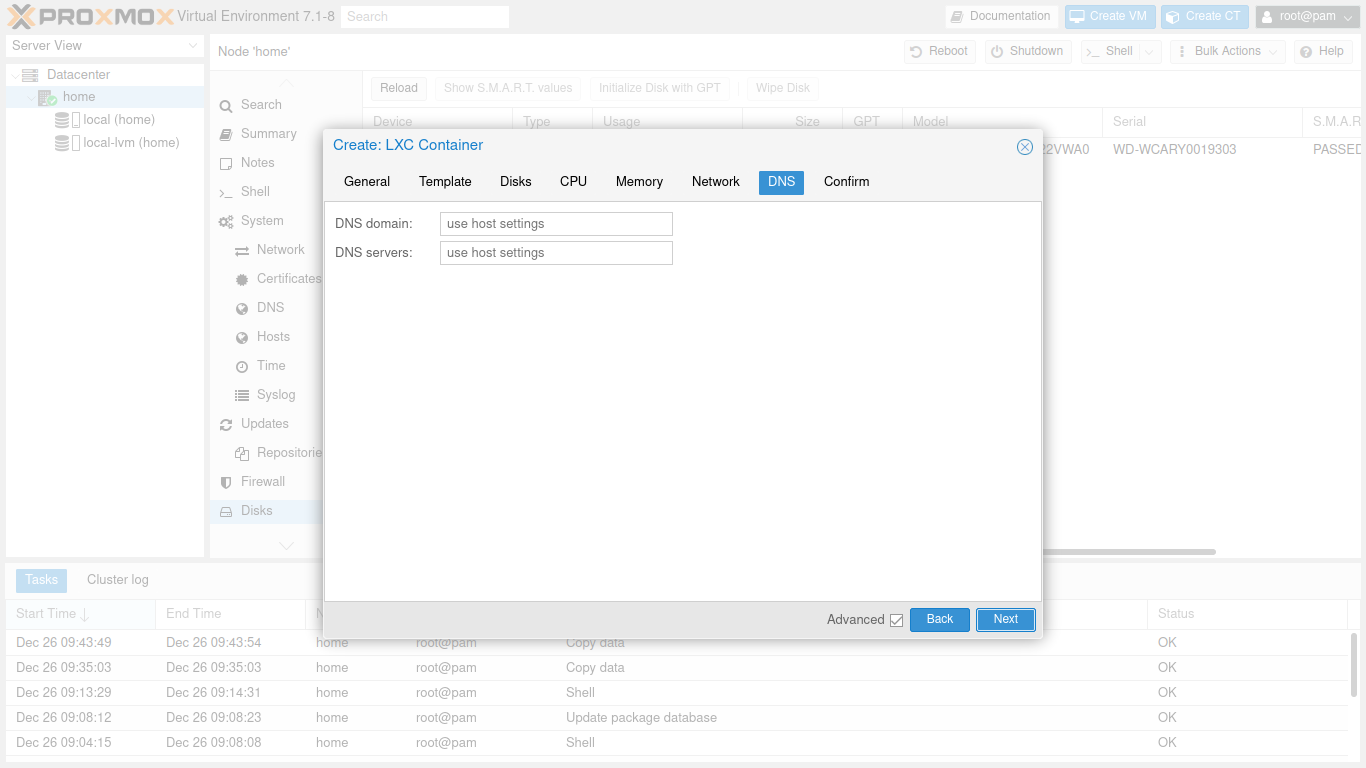
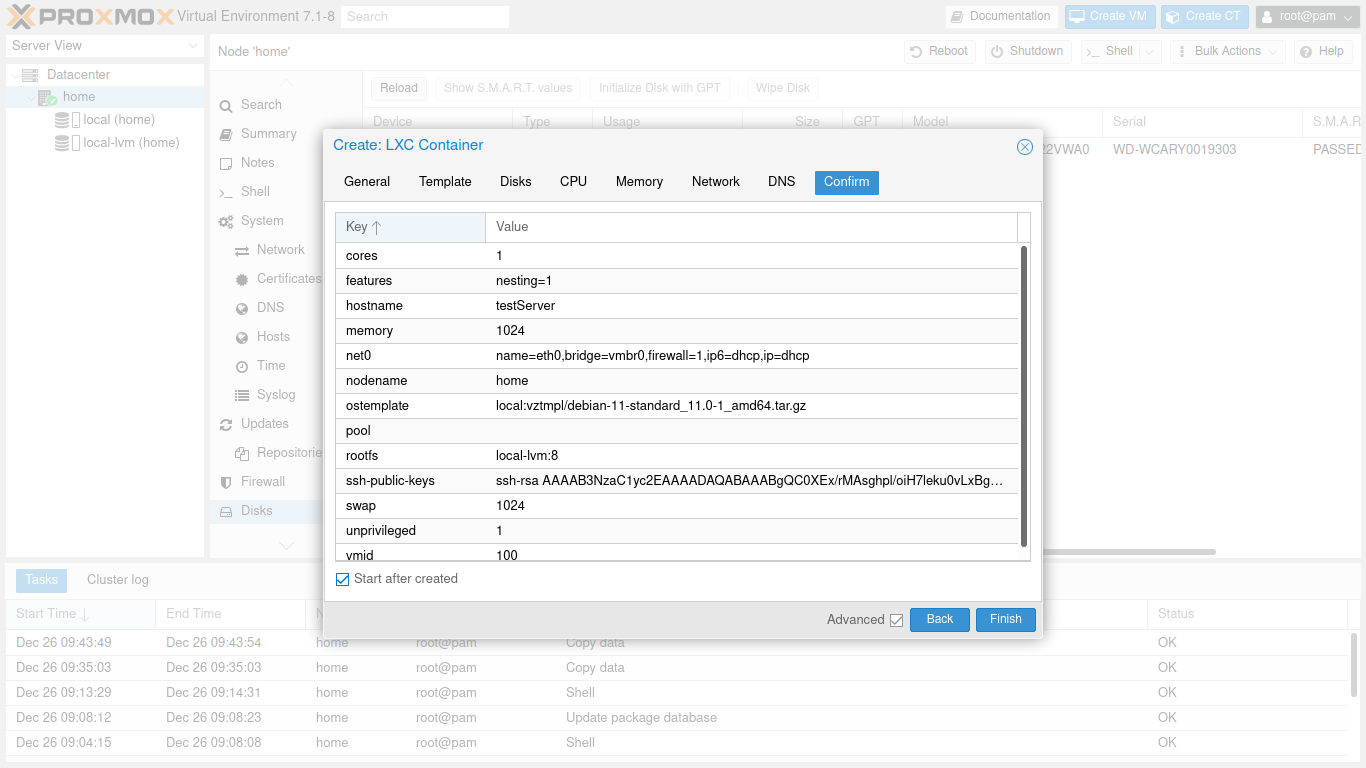
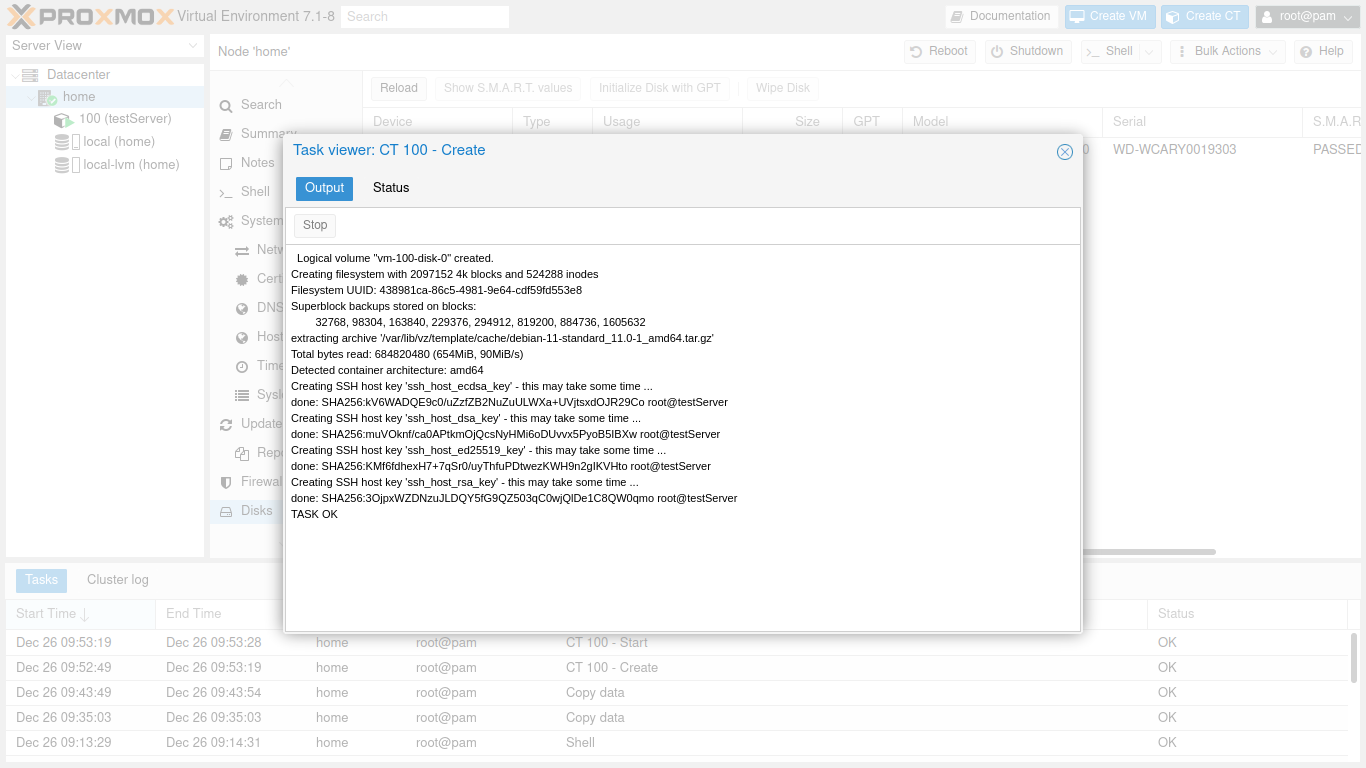
add CT Template to have something to run on your server on the left select local under Data-center next select Ct Templates in the menu next to it and click on Templates to finish select a Template to download. (you could also upload instead, if you already have some)
Bam!! your ready to use your new machine!!
I will add some text to guide you with those pictures.
And the next tutorial to follow could be setting up a LAMP stack in your machine!!